
Intro - Kali Linux is a Debian-derived Linux distribution designed for digital forensics and penetration testing. It is maintained and funded by Offensive Security Ltd. Mati Aharoni and Devon Kearns of Offensive Security developed it by rewriting BackTrack, their previous forensics Linux distribution.


Hardware requirement -
- A minimum of 8 GB disk space for the Kali Linux install.
- For i386 and amd64 architectures, a minimum of 512MB RAM.
- CD-DVD Drive / USB boot support
Preparing for installation -
- Download Kali linux. ( link )
- Burn The Kali Linux ISO to DVD or Image Kali Linux Live to USB.
- Ensure that your computer is set to boot from CD / USB in your BIOS.
Kali Linux Installation Procedure
To start your installation, boot with your chosen installation medium. You should be greeted with the Kali Boot screen. Choose either Graphical or Text-Mode install. In this example, we chose a GUI install.
(Click on Image for Large View)

Select Language – English

Select Location – United State

Configure the keyboard – American English

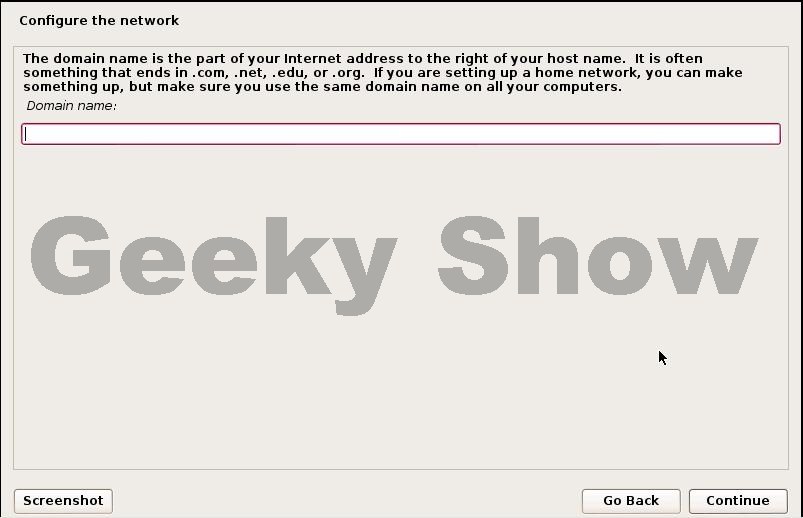
Configure the network

Leave blank and click on continue
Set up users and password – write root password and click on continue

Configure the clock – Eastern

Partition Disk – here you have option to choose how do u want to install your os. Here we will discuss in two option. 1St Use Entire Disk and 2nd Manually. Use Entire disk means os will create your whole hard disk in one partition and OS will install in this partition. And Manually means you can create a separate partition for your Kali Linux OS and install it on the separate partition. I recommend if you are advance user than play with manually otherwise go with ‘use entire disk’ but remember the meaning of it.
Here we are choosing Manually

After choosing manually this window will appear – select your hard disk and click on continue

Select yes and click on continue

Select above image’s highlighted option and click continue

Create a new partition – here we can choose ‘automatically partition the free space’ (recommend for new user) or create a new partition ( for advance user)
Here we are choosing create a new partition and click on continue

Write the size of partition it should be more than 10 GB

Select Primary and click on continue

Select beginning and click on continue

Select ‘Done setting up the partition’ and click on continue

Select ‘Finish partition and write change to disk’ and click on partition

Select ‘No’ and click on continue

Select ‘Yes’ and click on continue

Install the system ( it takes time)

Configure the Package manager – use a network mirror ( If you will choose ‘Yes’ than ready for online updates and it takes lot of time so better to choose ‘No’ if you have slow net connection )
Here I am choosing ‘Yes’

Leave blank and click on continue

Install the grub boot loader – Select ‘Yes’ and click on continue

Installation Finished

Now click on Other
Write username ‘root’ and click on log in

Write your password which you written during the OS installation and click login

Successfully Log In

(Click on Image for Large View)


![SQL Injection Basics - Union Based [Detailed Tutorial]](https://blogger.googleusercontent.com/img/b/R29vZ2xl/AVvXsEjjQpa2wuMB-m5CXPVf71GUOkfiIOQA8KTyQ-_zfAl0SZa23UBN1QJaO2ZMGRDZlmDJTYf2jJ4ik3Xnj1locc38Yv9l6VMxTWt32s86JtXtLABDn20DRuAcbLPKMb9m2hc6PDmjIjvU-us/s72-c/SQL-Injection-Attack.jpg)


No comments:
Post a Comment